UPDATED! Building a Home Studio: AUDIO INTERFACES
In building a home studio, it’s pretty cool that these days, you can get started for very little money and work your way up to better gear as you can afford it. Not so many years ago, if you wanted to build a recording space, you needed $200,000. Now you can get started for $300 due to a revolution in digital audio electronics and recording software. We talked about microphones for voice over in our blog here: Microphones
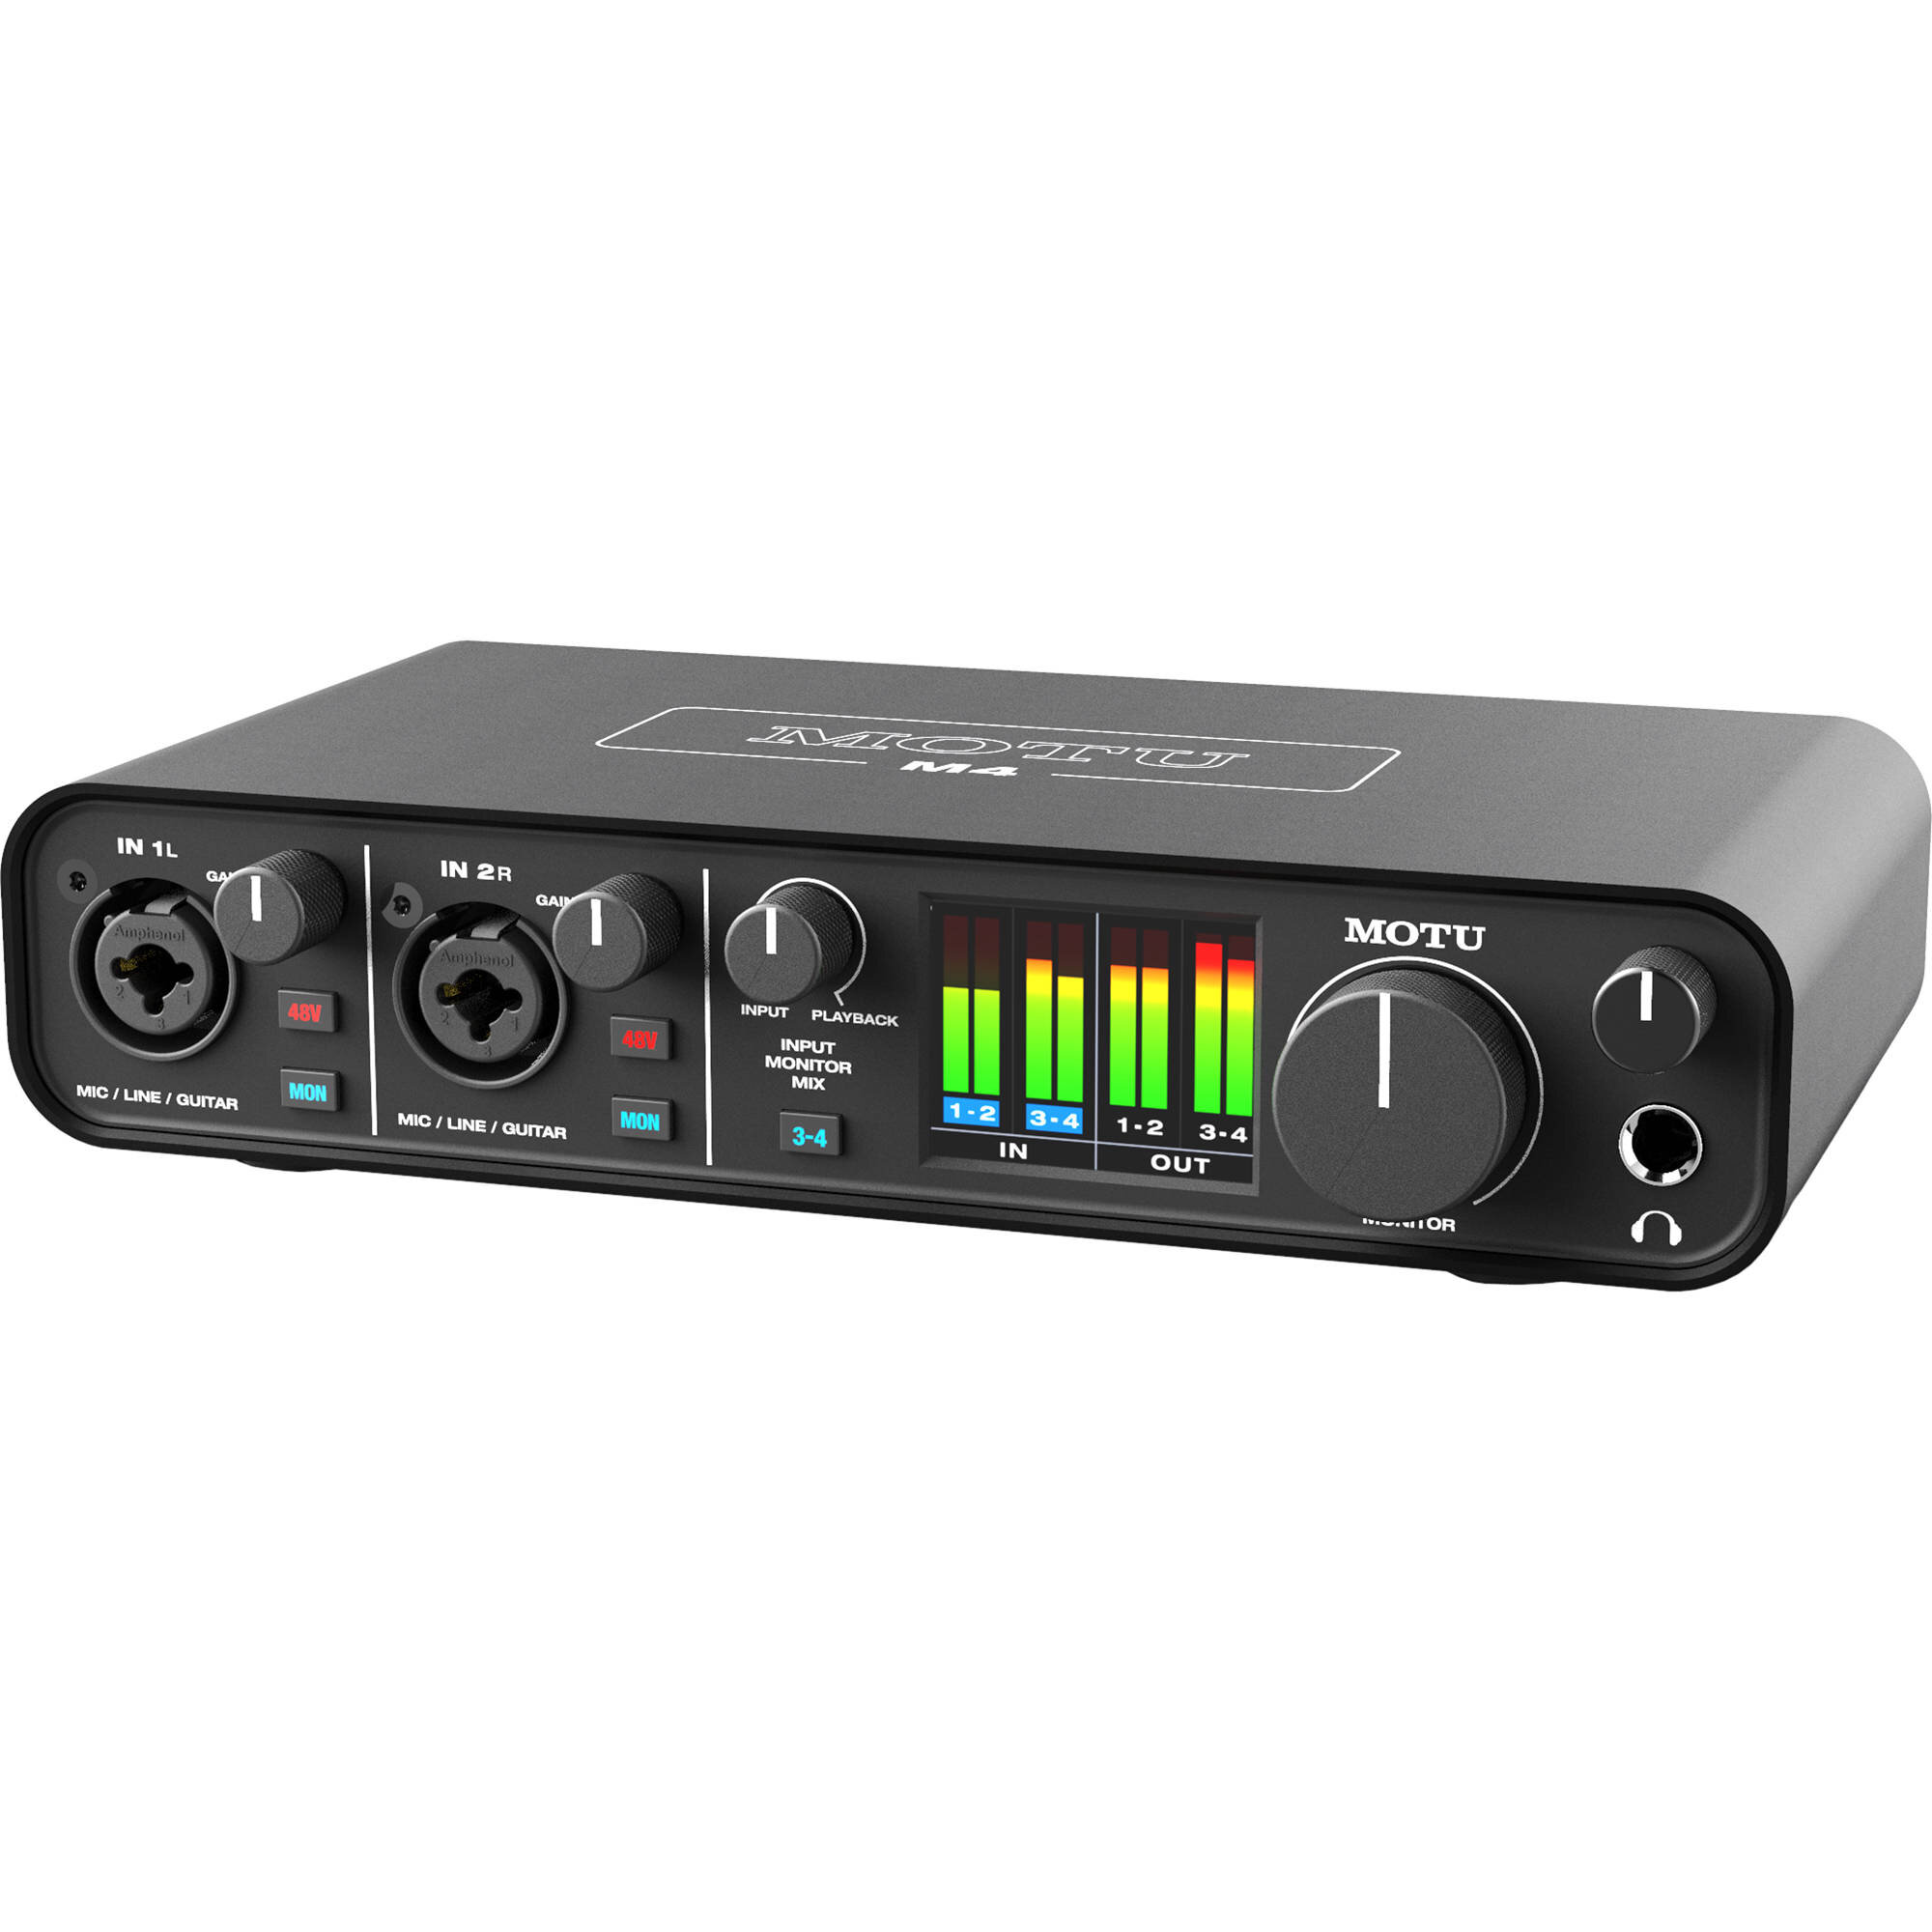
Now, let’s look at audio interfaces. So, what is an audio interface and why do I need one? An audio interface connects your microphone to your computer, completing the record chain.
Don’t let the cost of doing this scare you. There are affordable options that can do the job.
Audio Interfaces
The easiest solution is: get an audio interface, plug your XLR mic into it and then plug the audio interface into your computer. Boom. Done.
If cost is your main consideration, we like the Motu M2 ($199). Also, for $100 more, the Audient iD14 MKII ($299).
Take a bigger step up and you get the Apogee Duet for Mac and iOS ($649) or the Universal Audio Apollo Twin II ($899). We’re big fans of the UA Apollo.
A recent addition that’s sweeping the market is Neumann’s MT 48 ($1850). This is based on Merging Technologies Anubis series, with resounding praise. Also, Neumann needs no introduction as far as quality is concerned. And if you go totally high-end, the Apogee Symphony I/O Mk II ($4475). The more you spend, the better the quality.
For all of you interested in being tech wizards and learning what all an audio interface does, as well as additional features to consider when shopping around, here’s the lowdown:
A/D Converters
The most important component to any audio interface. This translates the sound from your microphone to your computer. Often the higher the dynamic range (in dB), the better the audio quality. All audio interfaces will have this, but they won’t have the same type or quality of converter.
Mic/Line Preamps
What you plug your microphone into, with an XLR cable. They will have built-in power, otherwise known as gain, necessary for the microphone to pick up sound. It is important for your audio interface to supply the gain, while producing as little noise interference itself as possible.
Phantom Power
A Condenser XLR microphone needs phantom power (48 volts) to operate. These are the most commonly used voice acting mics! This is effectively additional direct current, to amplify the microphone, to pick up sound. Fortunately, most audio interfaces provide this.
DSP
A Digital Signal Processor. Essentially, this is a secondary processing device built straight into the audio interface, to help with computer speed when using recording software. Few audio interfaces have this, and it definitely helps if you don’t have a powerhouse computer.
On-board Processing
This is often paired with the above DSP and allows you to edit your live sound, without needing a computer and software to do so. Admittedly this is a niche feature for remote voice acting, but if you like recording live music too, you might want to invest in a product that works for both!
So you see, you can spend a lot if you’re going high-end. You can also put together a functional system pretty inexpensively.
Summary
Entry Budget ($300-$500) Get an inexpensive XLR mic and an entry level audio interface.
Quality Budget ($500-$900) Pick up a good XLR mic and a good audio interface.
Pro Budget ($1000-$2000) You can put together a really professional-sounding system in this range. Record any project with confidence.
High Budget ($2000-$5000) Now, we’re in professional commercial recording studio territory. You can buy some awesome, great-sounding toys if you’re working here. Neumann mics, Avalon preamps, AudioQuest cables.
Whatever path you take, use this guide in choosing the right components for your home studio!
Next in the Building A Home Studio Series: Sound Insulation


